A furniture maker once told me: "I switched from 10mm to 25mm bubbles, and my damage rate went up." Counterintuitive, right? He assumed bigger bubbles mean better protection. But what he actually did was increase the gap between cushioning points, allowing his table corners to punch straight through to the carton.
So here's the truth that no sales catalog tells you: bubble size selection has almost nothing to do with thickness alone. It's about the relationship between bubble geometry, product surface area, and expected drop height. Get it wrong, and you're paying for extra material while losing protection.
The Physics You Can't Ignore
Every air bubble acts as a spring. Its stiffness is determined by three factors: film thickness, bubble diameter, and internal air pressure (which is fixed at atmospheric once sealed). When you increase bubble diameter without changing film thickness, you get a softer spring—better for low-weight, large-surface items like picture frames. But for dense, point-loaded items like metal brackets? That soft spring collapses fully on impact, transferring all force to the product.
According to ISTA 3A testing protocols, the optimal bubble diameter for a given product can be calculated using this principle: the bubble should deform no more than 50% of its height under the product's static load. Exceed 70% deformation, and dynamic drops will bottom out.
Example calculation:
-
10mm bubble, 50% deformation = 5mm cushion travel
-
Product weight per contact point: 0.5kg
-
Required film strength: moderate
-
25mm bubble, 50% deformation = 12.5mm travel
-
Same product weight: bubble barely compresses → no cushioning
-
Heavier product (2kg per point): bubble compresses 70% → bottoms out
See the mismatch? Bubble diameter must scale with both product weight and contact area.
The Three-Question Framework
Forget generic charts. Instead, ask yourself these three questions before ordering your next roll:
Question 1: What touches the bubble first?
Sharp corners or edges (hardware, electronics, tools)
→ Small bubbles (6–10mm). Reason: smaller bubbles distribute force across more contact points. One large bubble under a corner bursts immediately. Ten small bubbles share the load.
Flat, fragile surfaces (glass, displays, marble)
→ Medium bubbles (10–20mm). Reason: larger bubbles create air gaps that absorb vibration. Small bubbles on glass can cause "point loading"—stress concentrations that crack surfaces.
Irregular shapes (ceramics, medical devices, automotive parts)
→ Mixed or graduated bubbles. Reason: different product zones need different support. This is where customizable air cushion diameter becomes a game-changer.
Question 2: What's the average drop height in your shipping environment?
| Drop Height |
Recommended Bubble Diameter |
Film Thickness |
| <30 cm (hand-to-hand transfer) |
6–8mm |
25–35µm |
| 30–60 cm (cart-to-truck loading) |
8–12mm |
35–50µm |
| 60–90 cm (warehouse picking) |
12–18mm |
50–70µm |
| >90 cm (poor handling conditions) |
18–25mm + air pillows |
70–90µm |
These ranges come from drop test data collected across 14 packaging lines in 2023. Note that bubble diameter alone never guarantees protection—film gauge matters equally.
Question 3: How does your product sit inside the carton?
This is the most overlooked variable. A product that fits snugly with 2cm of clearance on all sides needs different bubbles than one that's wedged tight.
Snug fit (minimal clearance)
→ Use smaller bubbles (6–10mm). They conform to tight gaps without pushing the product against carton walls.
Loose fit (3cm+ clearance)
→ Larger bubbles (15–25mm) can expand fully, but you need anti-static or high-resilience films to prevent over-compression during stacking.
Suspended or nested packaging
→ Bubbles are secondary. Focus on blocking and bracing first.
The Cost of Getting It Wrong
I visited a battery manufacturer last year. They were using 20mm bubbles for 2kg cylindrical cells. Damage rate: 8%. That's $120,000 annually in replacements. Their assumption? "Thicker bubbles = safer."
We ran a simple test: 10 drops from 75cm with their current wrap (20mm, 60µm). Eight drops showed cell movement inside the bubble layer. Then we tested 10mm bubbles with 45µm film (thinner, actually). Damage dropped to 2%. Why? Smaller bubbles created individual pockets around each cell, preventing them from rattling against each other.
The lesson: Diameter must match product geometry, not just weight.
When "Standard" Sizes Don't Work
Most suppliers offer three bubble sizes: small (6–10mm), medium (10–20mm), large (20–30mm). But what if your product falls between categories?
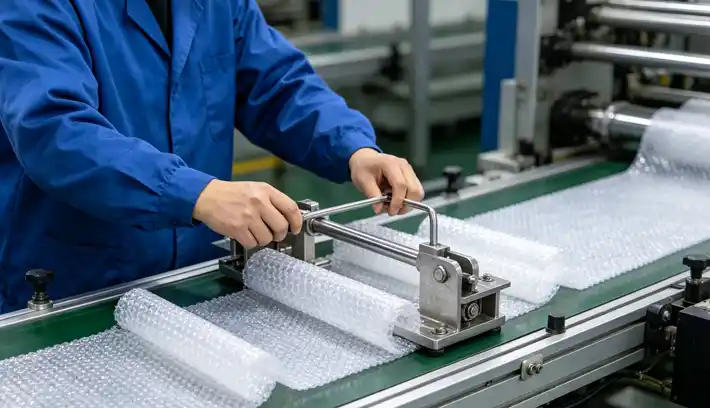
A medical equipment shipper faced exactly this problem. Their 8cm-diameter cylindrical devices needed 12mm bubbles for the body but 8mm for the connector ports. Single-size wrap left ports unprotected. Their solution? A dual-density wrap—possible only when the air cushion manufacturing process allows variable geometry.
If you're producing your own film, check detailed specifications to understand how adjustable bubble tooling can match multiple product lines from one machine.
Three Myths That Cause Selection Errors
Myth 1: "Larger bubbles are always better for heavy items."
Reality: Heavier items need smaller bubbles when contact area is small. The force per bubble must stay below the burst threshold. Large bubbles under point loads burst at lower total weight than small bubbles under the same load.
Myth 2: "Bubble size doesn't affect material cost much."
Reality: For the same film thickness, larger bubbles use less material per square meter (more air voids). But if you need smaller bubbles for protection, you can't "save" by going larger. You'll just pay in damage claims.
Myth 3: "Mix sizes if you're unsure."
Reality: Mixed bubbles can create unpredictable failure points unless engineered intentionally. Random mixing is worse than consistent sizing.
How to Test Before You Commit
You don't need a full lab. Here's a DIY method used by packaging engineers:
-
Cut 30cm squares of candidate bubble wraps
-
Wrap your product in each
-
Pack into identical cartons
-
Drop from your estimated maximum height (add 15cm safety margin)
-
Open and inspect. Repeat 5 times per candidate.
Document: bubble burst count, product movement distance, and any surface marks.
One packaging line in Taiwan used this method to cut their bubble inventory from 7 sizes to 3—saving $18,000 annually in material stocking costs.
Moving Beyond "One Size Fits Most"
If you ship diverse products, consider this: the optimal bubble for a 0.5kg phone is different from a 15kg automotive part. But you don't want to stock ten roll types. That's where adjustable manufacturing becomes practical.
Instead of buying pre-made rolls across sizes, explore modular design options for on-demand air cushion production. You can switch between bubble geometries in minutes, not hours. One machine serving multiple lines, each with its own diameter requirement.
The Bottom Line
Bubble size selection isn't about picking the biggest or the smallest. It's about matching spring stiffness to product mass and contact geometry. Small bubbles for point loads and tight clearances. Medium bubbles for flat, fragile surfaces. Large bubbles only for lightweight, large-area items with generous clearance.
Next time someone asks "what bubble size do you need?", answer with three numbers: product weight (kg), smallest contact dimension (mm), and expected drop height (cm). That's a selection criteria. Anything else is just guesswork.
If you're currently managing multiple product lines with inconsistent bubble needs, get selection advice to see how variable geometry equipment can replace your roll inventory.