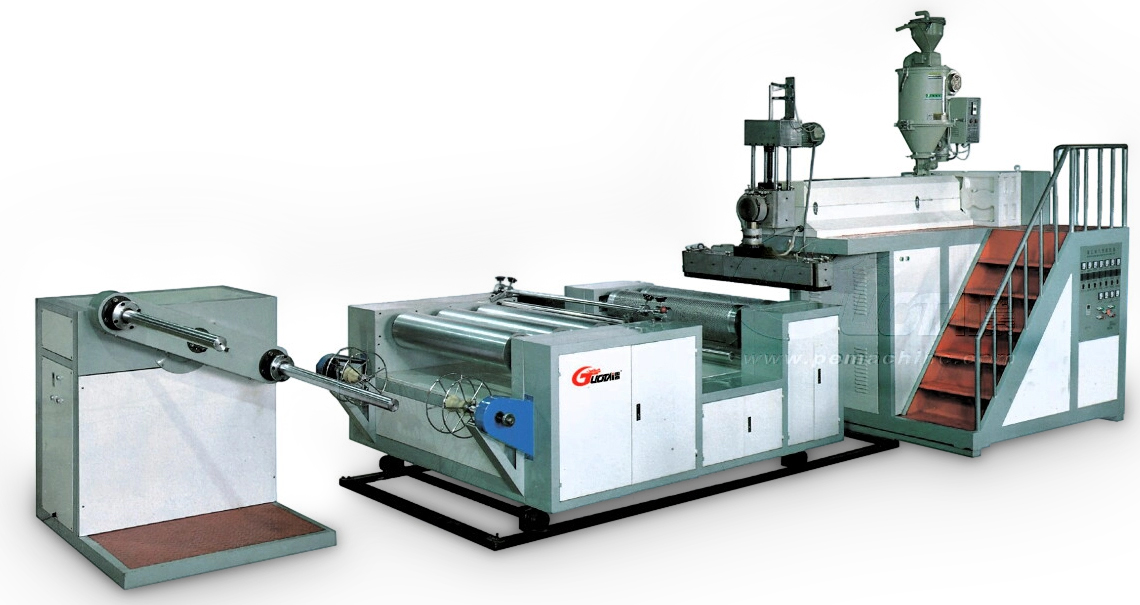
A bubble film machine is a specialized extrusion system that converts plastic resin into continuous rolls of air-filled cushioning material. The name describes exactly what it does: it creates a continuous tube of molten plastic, inflates it to form bubbles, then flattens and winds it into rolls. But the components inside—and the process steps between them—determine whether you get consistent, reliable film or a stream of rejects.
If you're evaluating equipment for a packaging line, here's what actually matters: not the brochure specs, but how each component behaves under real operating conditions. Let me walk you through both the hardware and the workflow.
The Main Components: What's Inside the Machine
Every bubble film machine has five essential component groups. Missing or under-speccing any one creates a bottleneck elsewhere.
1. Extruder Unit
The extruder melts and moves the resin. It consists of:
-
Barrel – heated cylinder with temperature zones (typically 4–7 zones)
-
Screw – rotating auger that conveys, melts, and pressurizes
-
Drive motor – powers the screw (AC vector drives are standard today)
For bubble film, screw design matters more than diameter. A screw with a compression ratio between 2.5:1 and 3.2:1 handles LDPE and LLDPE blends effectively. Too low? Poor melting. Too high? Resin degradation.
2. Die Head Assembly
The die head shapes the molten plastic into a vertical tube. It contains:
-
Spiral mandrels – distribute melt evenly around the circumference
-
Lip – adjustable opening where plastic exits
-
Heating bands – maintain uniform temperature across the die
A quality die holds layer thickness tolerance within ±5% across its width. Poor dies drift to ±10% or more—resulting in bubble rows that alternate between tall and flat.
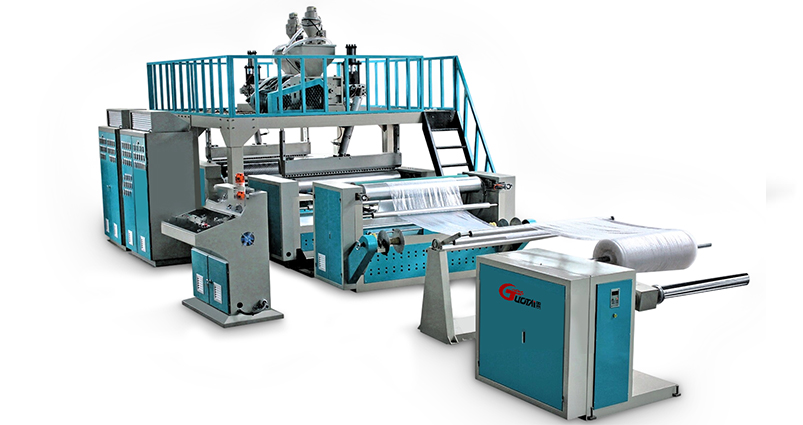
3. Bubble Forming Section
This is where the tube becomes bubble film. Components include:
-
Air ring – directs cooling air onto the hot tube
-
Internal bubble pressure system – maintains inflation (5–18 mbar typical)
-
IBC (Internal Bubble Cooling) – optional but recommended for lines above 80 kg/hour
Without stable internal pressure, bubble diameter fluctuates. Without adequate cooling, bubbles collapse before they set.
4. Haul-Off and Collapsing Frame
These components pull and flatten the bubble:
-
Nip rollers – pinch the flattened film and control line speed
-
Collapsing frames – gradually transform the round tube into a flat sheet
-
Edge trimming knives – remove unformed edges (15–25mm per side)
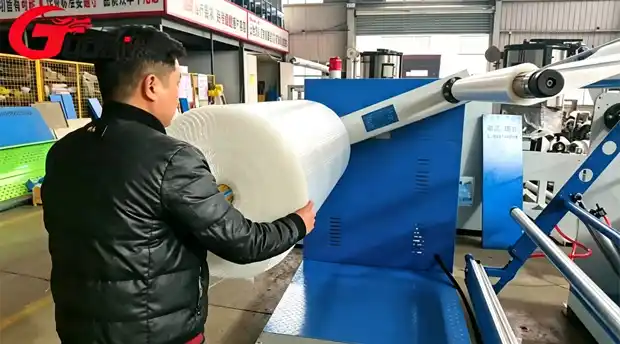
5. Winding Unit
The winder converts flat film into finished rolls:
-
Dancer arm – measures and adjusts winding tension
-
Taper tension control – reduces tension as roll diameter increases
-
Slitting knives – cut wide film into narrower rolls if needed
Visit check detailed specifications to compare how different winder configurations affect roll quality and throughput.
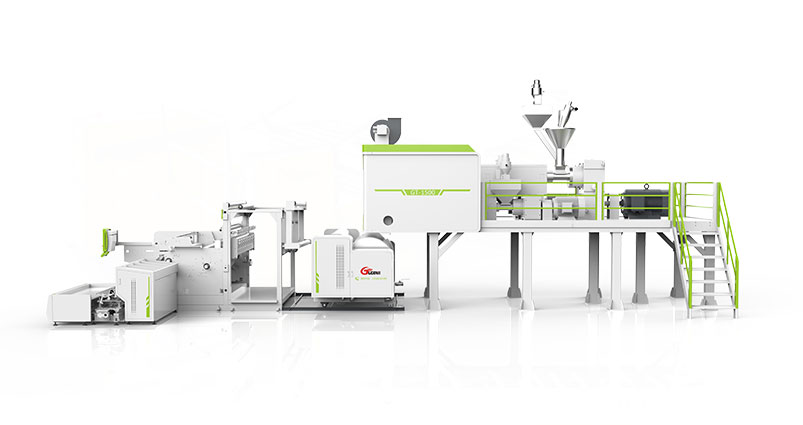
The Process: How Components Work Together
Knowing the parts is one thing. Understanding how material moves through them—that's where operational value comes from.
Step 1: Resin Feeding
Pellets from multiple hoppers (virgin, recycled, color masterbatch) enter a gravimetric blender. The blender maintains ratios within ±0.5% by weight. From there, material falls into the extruder throat.
What can go wrong: Inconsistent feeding causes melt pressure fluctuations. First sign? Bubble diameter wandering.
Step 2: Melting and Mixing
Inside the barrel, the screw rotates at 40–100 RPM depending on output. Heat from both barrel heaters and screw shear melts the resin. Melt temperature typically runs 180–210°C.
The screw design determines how thoroughly pigments and additives distribute. Poor mixing creates streaks in the final film—cosmetic but often rejected by quality-sensitive customers.
Step 3: Die Distribution
Molten plastic exits the screw and enters the die head through an adapter. Inside the die, spiral mandrels split the flow into separate paths (for multi-layer films) before rejoining at the lip.
The critical parameter here is back pressure—typically 150–250 bar. Too low? Melt doesn't fill all channels evenly. Too high? Excessive shear degrades the polymer.
Step 4: Bubble Inflation and Cooling
As the plastic tube exits the die lip, internal air pressure blows it outward like a balloon. The air ring blows cool air from outside to solidify the melt.
Bubble geometry follows three rules:
-
More internal air → larger diameter → taller bubbles
-
Higher line speed → thinner film → smaller bubbles
-
More cooling air → faster solidification → more stability
The operator balances these three. A good bubble film machine provides independent controls for each variable.
Step 5: Collapsing and Winding
After cooling, the bubble passes through collapsing frames that fold it flat. Nip rollers pull the film toward the winder. Edge trimmers remove the thicker edges (where the bubble folded). Finally, the winder builds rolls at user-set width and length.
What operators miss: Tension should drop as roll diameter grows. Without taper tension control, inner layers stretch permanently—producing rolls that telescope (shift sideways) during customer use.
Common Process Failures and Their Component Causes
| Symptom |
Most Likely Component Cause |
| Intermittent bubble burst |
Internal pressure leak (shaft seal or tubing) |
| Uneven bubble heights across width |
Die lip contamination or uneven heating |
| Film sticks to itself on roll |
Poor cooling tower height or airflow |
| Edge wrinkles after winding |
Collapsing frame misalignment |
| Layer separation after storage |
Incompatible melt flow indexes between layers |
One facility in Malaysia tracked their reject reasons for six months. The top cause (31% of waste) wasn't extrusion. It was winding tension drift caused by an uncalibrated dancer arm sensor.
How to Evaluate a Bubble Film Machine Before Buying
Here's the framework I've used across 20+ equipment purchases:
Ask about component repairability:
-
Are die lips replaceable individually or must you buy the entire die?
-
Are pressure transducers standard parts (off-the-shelf) or custom-coded?
-
What's the lead time for a replacement air ring?
Ask about process visibility:
-
Can you see bubble formation while operating (not just through a tiny window)?
-
Does the control panel show real-time melt pressure and temperature?
-
Is internal bubble pressure displayed digitally or just on an analog gauge?
Ask about changeover flexibility:
-
How long to switch between bubble sizes?
-
Do you need tools to adjust collapsing frame width?
-
Can you change winding tension profiles without stopping?
Equipment that scores poorly on these questions will cost you in downtime—regardless of the initial price.
Making the Right Choice for Your Line
A bubble film machine is ultimately a tool. The right components and a well-understood process yield consistent film. The wrong combination—or skipping operator training on the process—yields frustration.
Start by mapping your requirements:
-
Daily output needed (kg/hour)
-
Film width range (mm)
-
Common bubble sizes (diameter and height)
-
Operator shift schedule (impacts how much complexity you can manage)
Then match components to those requirements, not to a supplier's featured "upgrade."
If you're currently comparing equipment options, get selection advice can help you translate production targets into specific component specifications.
Final Take
Understanding what a bubble film machine is starts with its components—and ends with how they work together as a process. The extruder prepares. The die shapes. The air and cooling set. The winder preserves. Each component has a job. Each process step has failure modes. Know both, and you'll buy smarter, operate cleaner, and reject less.
What's the one process step on your current line where you most often pause to make adjustments? That's where the real opportunity lives.