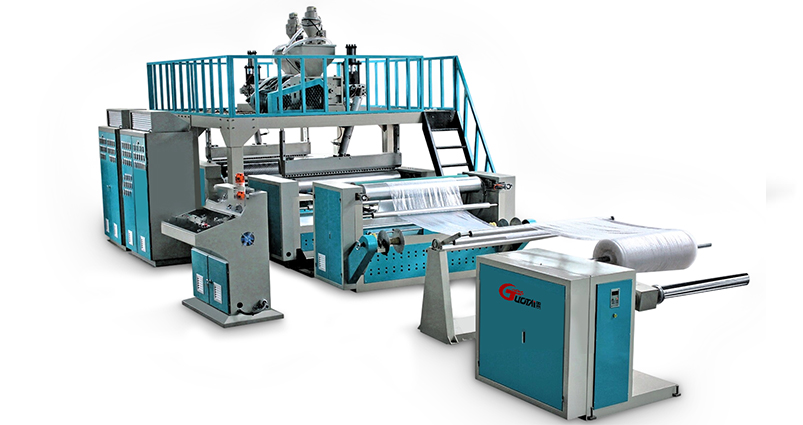
Guotai’s PE Bubble Film Machine is engineered for high-performance polyethylene film production, integrating multi-layer co-extrusion technology to deliver 1100 meters per hour output. Designed specifically for standard and composite bubble film, this CE-certified extruder reduces energy consumption by 30% compared to conventional models, while ensuring precise bubble formation (6-30mm diameter) for packaging applications in food, electronics, and logistics industries.

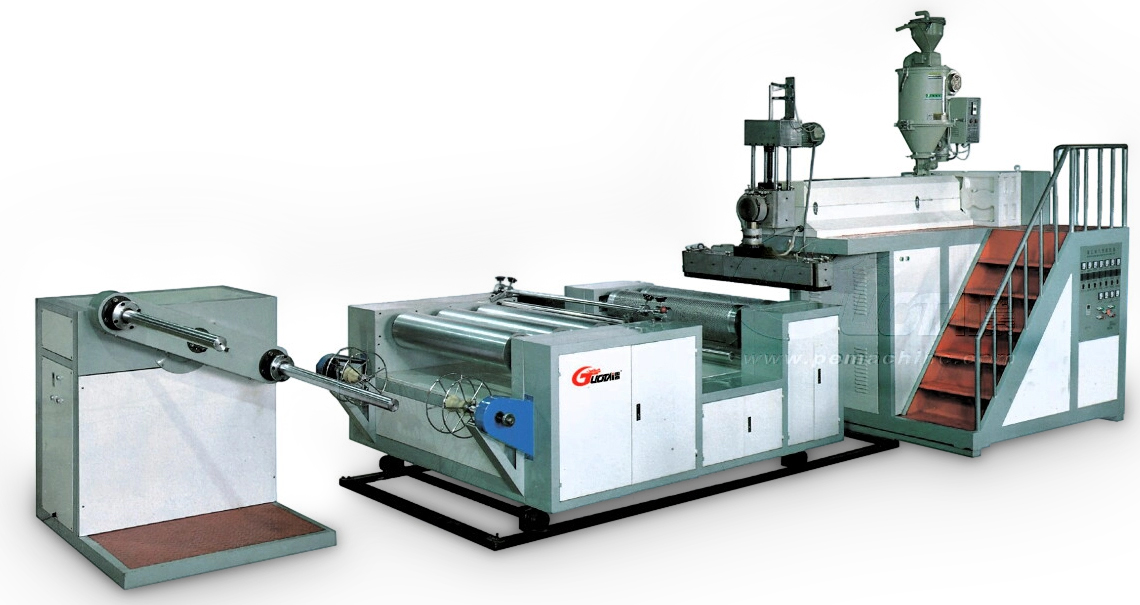
Guotai Machinery introduces the GT-1500 Triple Extrusion Polyethylene Stretch Film and Cling Film Manufacturing Machine, a testament to our innovation and commitment to quality. This state-of-the-art machine, certified by CE, is designed to produce both stretch film and...
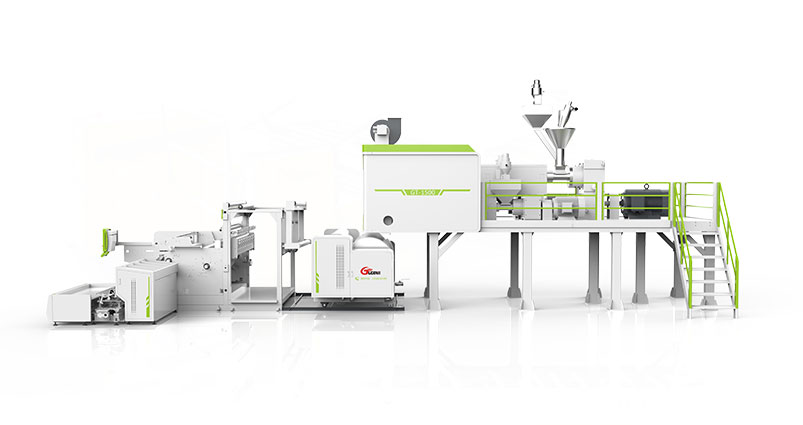
Guotai’s Plastic Bubble Film Machine series (GT-1500 to GT-3000) is engineered for versatile polyethylene film manufacturing, supporting LDPE/LLDPE raw materials and producing 0.03-0.2mm thick bubble film with widths up to 3000mm. Equipped with high-precision composite rollers and intelligent temperature control, this machine reduces material waste by 15% while ensuring continuous 24-hour operation—ideal for packaging applications in e-commerce, electronics, and furniture industries. Its environmentally friendly process (zero harmful emissions) complies with EU environmental standards, balancing high productivity (450kg/h max output) with sustainable production.